

How do you measure the finish line opening?
Measure the passage the race actually needs, then distinguish that clear opening from the complete inflated footprint. Mark where the legs sit in relation to barriers, timing equipment and nearby access. Show the approach to the finish and the space beyond it on the same drawing. An outside dimension alone does not tell the event team how much usable passage remains between the legs.
Share the course plan with the people responsible for the finish area. Identify the participants, equipment or vehicles expected to pass through, and note any venue constraints that affect the position. Keep those requirements in the arch brief so the proposed drawing can be checked against the actual route. If the arch will move between events, review the other locations before adopting one specification.
Where should the start finish arch sit on the route?
Place a start finish arch where the route plan and venue approval allow the complete setup to operate. Coordinate the position with the team managing the start sequence or finish area rather than choosing a location solely for a photograph. The drawing should show the approach, the arch footprint, the equipment position and the surrounding access used during the event.
A start and finish arrangement may involve different crowd movement at different times. Explain whether the same gateway is used for both and how equipment is positioned during each phase. Keep nearby pedestrian routes and operational access visible on the plan. The arch supplier can then review the product requirement while the event organizer retains responsibility for the course and venue arrangement.

How do you keep sponsor graphics visible in finish photographs?
Position sponsor graphics around the camera view and the surfaces that remain visible as participants cross the line. Supply authorized artwork and identify the main approach on the drawing. A logo centered on a leg may read differently from one across the crossbar. Review the approved layout from the photographer’s position as well as from a close view of the artwork.
Keep the event name, sponsor marks and start or finish wording in a clear hierarchy. Ask your design team to check the complete three-dimensional outline rather than approving disconnected flat logo files. If the reverse side will appear in photographs or on the return route, include it in the artwork review. Record those surfaces in the written specification so everyone checks the same graphic scope.
What should you confirm about inflation and anchoring?
Confirm the actual arch structure, inflation equipment and anchoring requirements with the supplier and the people responsible for the venue setup. Continuous-air and sealed structures use different inflation principles. Choose the agreed product around the site and operating plan, then obtain its instructions. A photograph cannot establish a suitable wind limit, ballast amount or operating procedure for another location.
Include the ground surface and any restriction on ground fixings in the site brief. Identify the equipment position and cable route for the venue’s review. Arrange responsibility for setup, inspection and removal before the event date. Those decisions help the organizer evaluate the complete proposal without turning a generic arch image into instructions for the actual course.
Which details belong in the race organizer’s final brief?
Bring the opening dimensions, overall site boundary, route plan, sponsor artwork, camera view, setup surface and equipment requirements into one brief. Include the quantity, destination, event date and target arrival date. Ask the supplier to identify the exact supplied components, packing and delivery arrangements in the quotation so your race team can allocate its own work clearly.
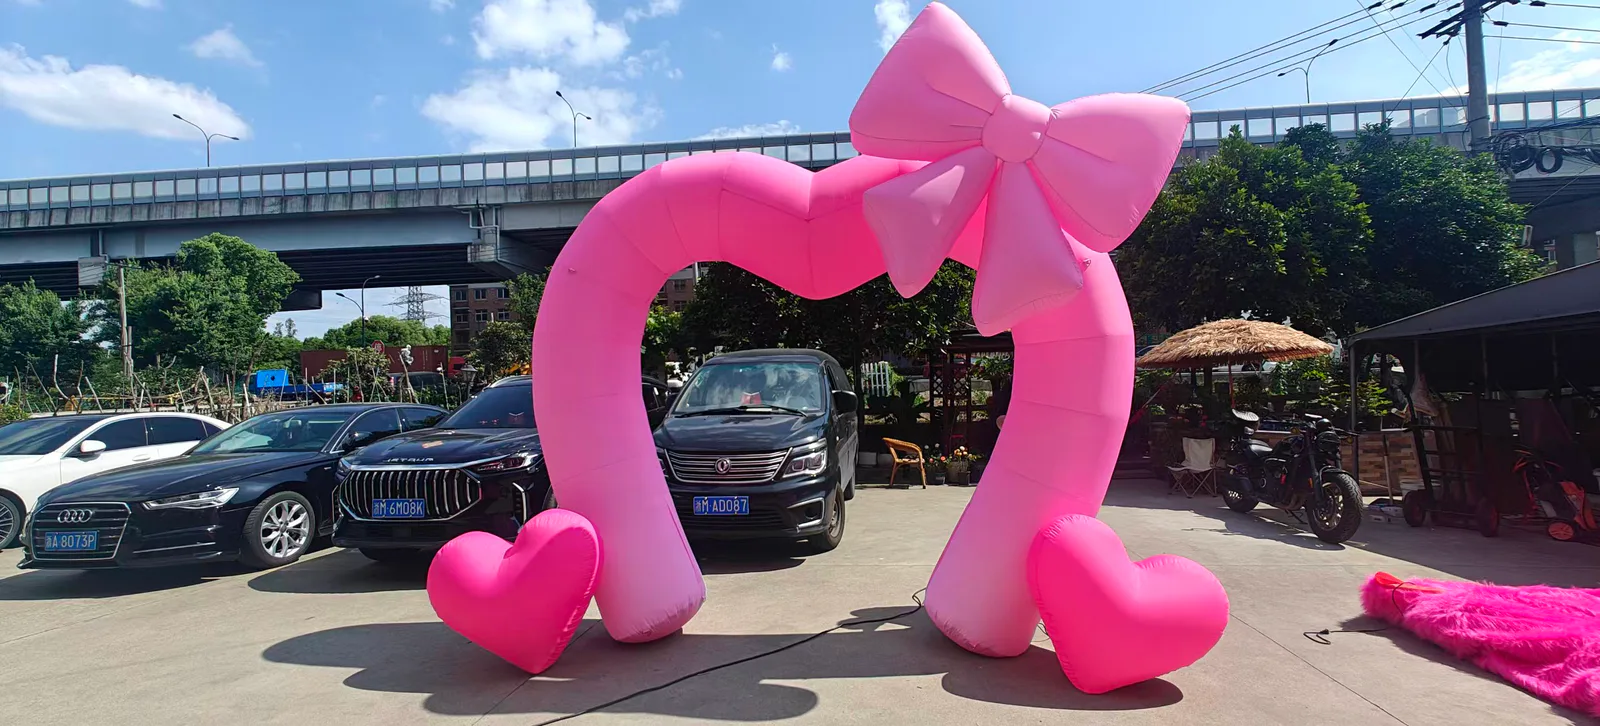
Plan a review after receipt and before the public event using the confirmed product instructions and venue arrangement. Keep the approved drawing and equipment list accessible to the people who will handle the arch. The photographs in this guide show a finish-line example and other real entrance shapes; use them to communicate the desired outline while developing the specification for your own course.
What should you send for your project?
Explore the custom inflatable arch page and send your site dimensions, artwork, quantity, destination and event date.
Discuss your project ↗